
Installing the Plugin
Requirements
Section titled “Requirements”Before you start, make sure you have:
- WordPress 6.2 or higher
- WooCommerce 7.0 or higher
- PHP 7.4 or higher
Dino Discounts is fully compatible with WooCommerce HPOS (High-Performance Order Storage).
Step by step
Section titled “Step by step”Go to Plugins → Add New
Section titled “Go to Plugins → Add New”In your WordPress admin, navigate to Plugins → Add New in the left sidebar.
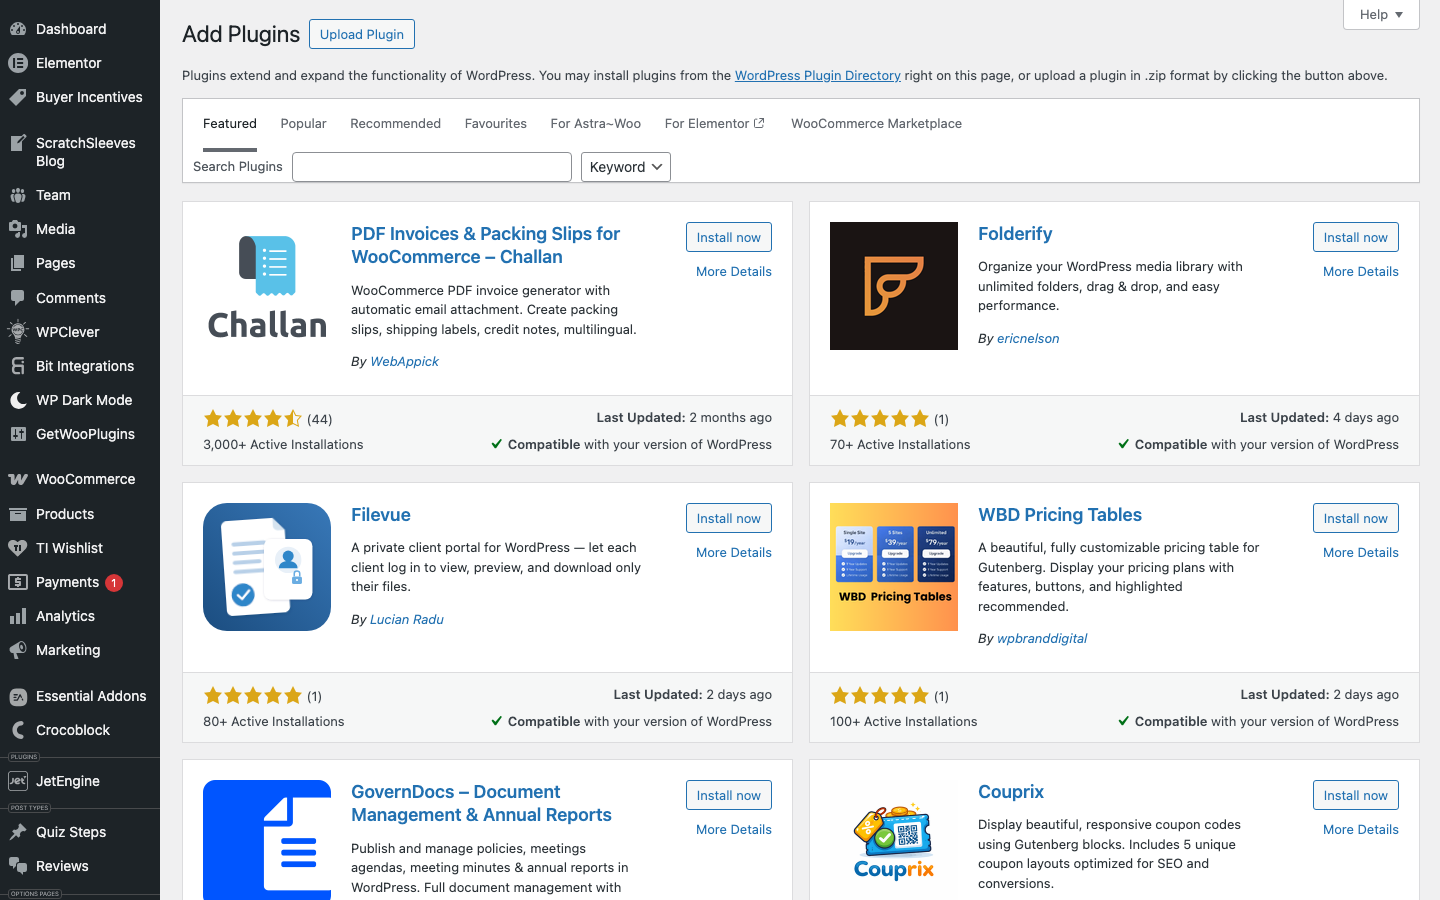
Search for "Dino Discounts"
Section titled “Search for "Dino Discounts"”Type "Dino Discounts" in the search box. The plugin will appear in the results. Click Install Now, then Activate.
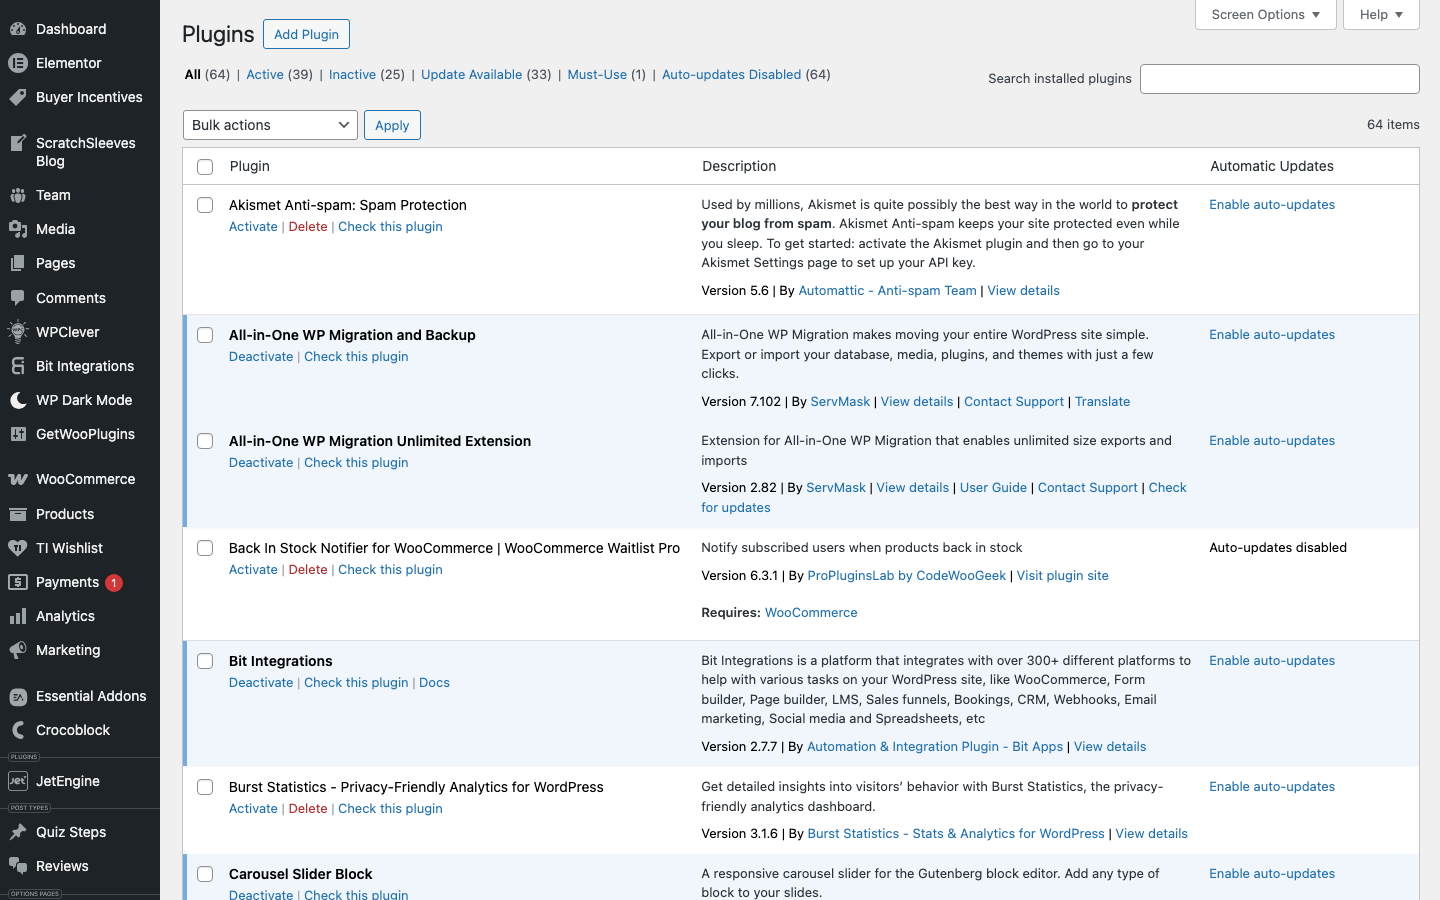
Verify the plugin is active
Section titled “Verify the plugin is active”Go to Plugins in your admin sidebar. You should see Dino Discounts listed and active.
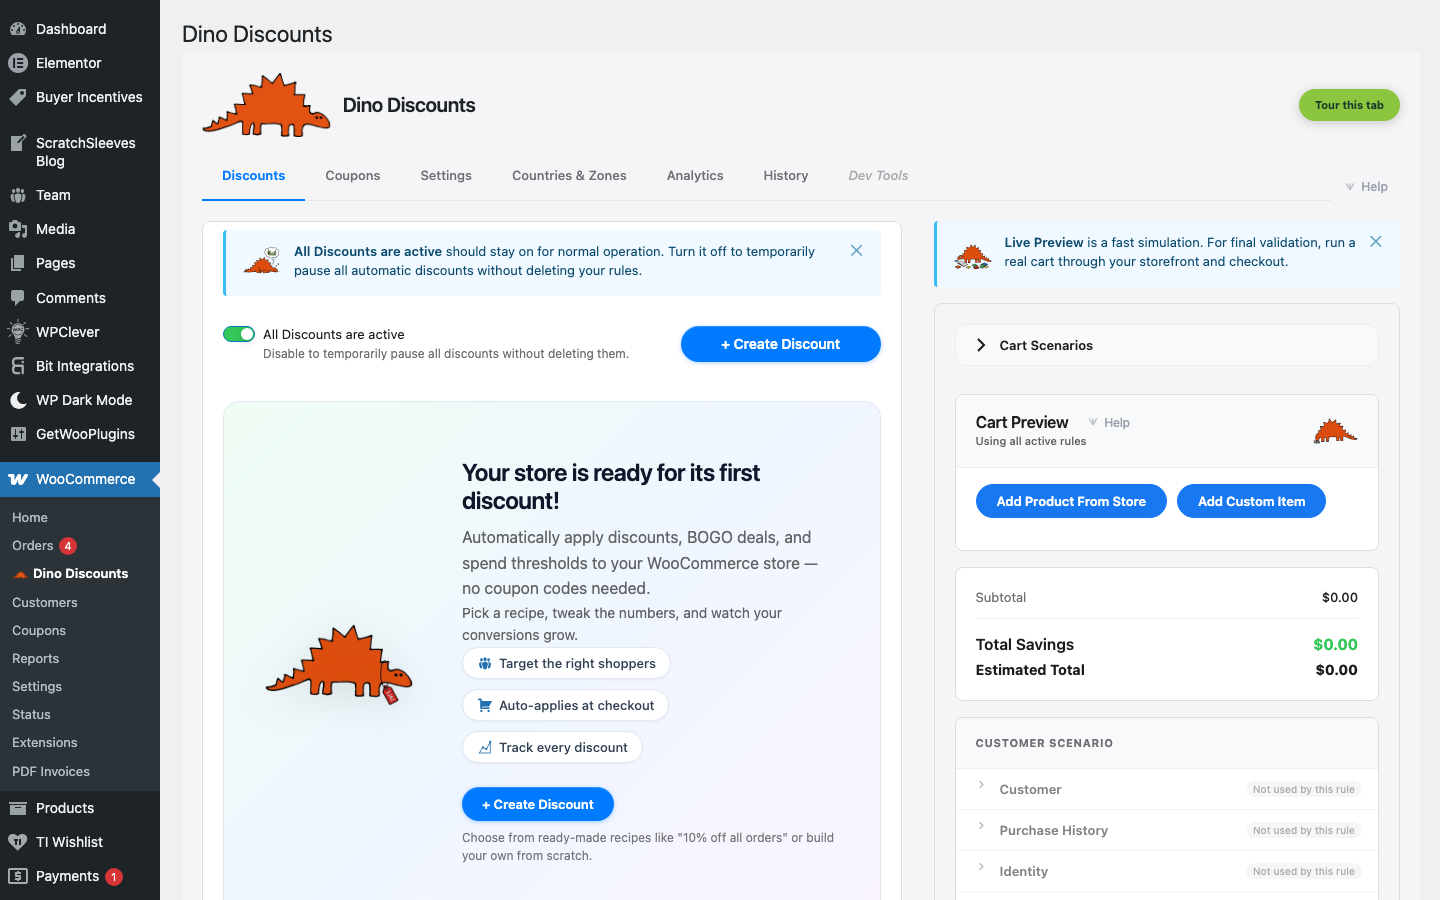
Open Dino Discounts and take the welcome tour
Section titled “Open Dino Discounts and take the welcome tour”Navigate to WooCommerce → Dino Discounts in your admin sidebar. The first time you land on the Discounts tab, Dino opens a guided welcome tour that walks you through each top-level tab — Discounts, Coupons, Countries & Zones, Analytics, History, and Settings — so you know where everything lives.
You can press Escape or click Exit tour at any time. Once you've finished (or dismissed) the tour, you'll see the Discounts tab with an empty rules list and a Create your first discount button.
Installing manually
Section titled “Installing manually”If you have a .zip file instead:
- Go to Plugins → Add New → Upload Plugin
- Choose the
dino-discounts.zipfile and click Install Now - Click Activate
Caching plugin? One important step
Section titled “Caching plugin? One important step”If you use a full-page caching plugin (WP Rocket, WP Super Cache, LiteSpeed Cache, SiteGround Optimizer, etc.), exclude your cart and checkout pages from full-page caching.
Add /cart/ and /checkout/ to your caching plugin's exclusion list. Without this, discounts may appear not to apply correctly.
Next step
Section titled “Next step”You're installed — now create your first discount → Your First Automatic Discount